
Templates in the testing environment serve as a powerful tool, streamlining the process by allowing you to create a customized set of tests for a patient without the need to individually choose each one.
Step 1: Accessing Template Editing
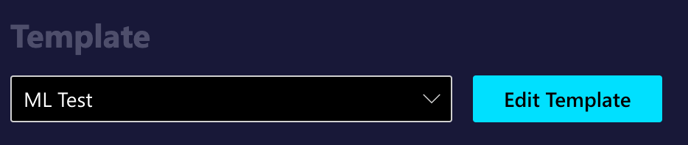
Templates, by default, are blank to accommodate the flexibility of customization. To create a personalized template, you'll need to click on the "Edit Template" button.
Step 2: Naming Your Template
Once you've clicked on "Edit Template," you'll be prompted to name your template. Choose a name that identifies the purpose or focus of the template for easy reference in the future.
Step 3: Selecting Modalities
Scroll down to find the section dedicated to modalities. Here, you can choose the specific tests and procedures you want to include in your template. Consider the needs of your patients and the nature of the appointment to tailor the template accordingly.
Step 4: Saving Your Template
After naming your template and selecting the desired modalities, scroll down to the bottom of the page. Here, you'll find the option to save your template. Click on "Save Template" to ensure that your customized set of tests is stored for future use.
Step 5: Using Your Customized Template
After saving your template, use it effortlessly for new appointments. Simply select your personalized template when creating a new appointment, saving time and avoiding the need to individually pick each test. Note that the Portal automatically defaults to the last used template, simplifying the process even further.