
The Heru portal can be used with any identity provider that supports SAML, such as Microsoft or Google
Getting started
To set up SSO in the Heru Portal, you will need the following:
- A clinic administrator login for your account
- An identity provider, like Microsoft or Google
Enabling SSO in your account
- Log in to the Heru Portal with your administrator credentials.
- From the left-side menu, click Account Settings.
- Click the Enable button next to SAML Single Sign On. You should see the following dialog box:
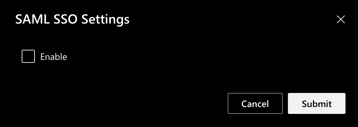
- Click the checkbox next to Enable. The dialog will expand.
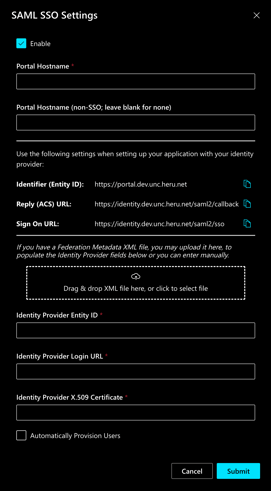
- The first two boxes are where you will set the hostnames that will be used to access the Heru portal for your account. Once SSO is activated, you will not be able to use portal.seeheru.com to log in; you will use one of these hostnames instead of portal.seeheru.com to access the portal.
- When choosing your hostname, you may use any hostname in the domain portal.heru.net (like
jimsoptical.portal.heru.netormyclinic.portal.heru.net) and that will be set up automatically for you. You may, however, choose to use a name of your choice in a domain that you own. In this case, you will need to set up a CNAME record in your DNS, which looks something like this (this example usesheruportalas the hostname):heruportal.mydomain.com. IN CNAME portal.prod.con.heru.net.
Check with your DNS provider for more information on how to do this. You will not need to obtain an SSL certificate for this hostname. We will take care of that.- Enter the hostname that you would like to use for SSO logins in the first box.
- If desired (and highly recommended), enter a different hostname to access the login/password screen for your account.
- Now you're ready to set up your identity provider to work with Heru. We provide instructions for setting up SSO with Microsoft and Google, but any identity provider that supports SAML will work.